Performance matters — and in today’s world of microservices and APIs, ensuring your system can handle high traffic is non-negotiable.
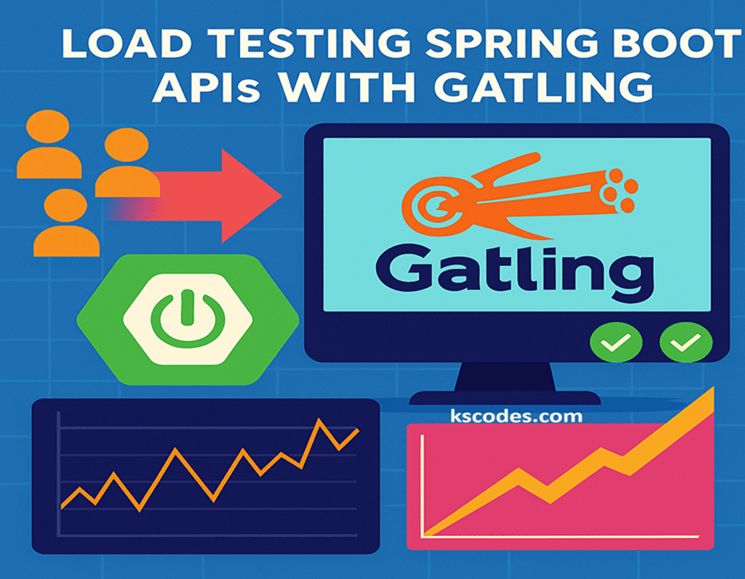
Gatling is a powerful, open-source load testing tool that helps simulate thousands of users interacting with your application in real time. In this post, we’ll dive into how to perform Spring Boot API Load Testing with Gatling, using a sample REST API built with Spring Boot.
We’ll cover:
- Setting up Gatling with Maven
- Writing and executing load simulations
- Interpreting results
- Best practices for API performance testing
⚙️ Spring Boot Application Setup
Let’s use a simple REST API as a target for Gatling. This service returns customer data.
📁 Directory: com.kscodes.springboot
CustomerController.java
package com.kscodes.springboot.controller;

import com.kscodes.springboot.model.Customer;
import org.springframework.web.bind.annotation.*;

@RestController
@RequestMapping("/api/customers")
public class CustomerController {

    @GetMapping("/{id}")
    public Customer getCustomer(@PathVariable Long id) {
        return new Customer(id, "Customer" + id);
    }
}
Customer.java
package com.kscodes.springboot.model;

public class Customer {
    private Long id;
    private String name;

    // Constructors, Getters, and Setters
}
🧪 Step 1: Set Up Gatling with Maven
Add the Gatling plugin to your pom.xml.
pom.xml
            io.gatling
            gatling-maven-plugin
            4.6.1


                        test
Gatling simulations are written in Scala, but you don’t need deep Scala knowledge — most scripts are reusable.
🧪 Step 2: Create Simulation Script
Create your simulation under:src/test/scala/com/kscodes/gatling/CustomerSimulation.scala
package com.kscodes.gatling

import io.gatling.core.Predef._
import io.gatling.http.Predef._
import scala.concurrent.duration._

class CustomerSimulation extends Simulation {

  val httpProtocol = http
    .baseUrl("http://localhost:8080") // Spring Boot URL
    .acceptHeader("application/json")

val scn = scenario("Get Customer by ID")
.repeat(10) {
   exec(
      http("Request Customer by ID")
        .get("/api/customers/1")
        .check(status.is(200))
    )
  }


  setUp(
    scn.inject(
      rampUsers(100).during(30.seconds) // Simulate 100 users over 30s
    )
  ).protocols(httpProtocol)
}
🏃 Step 3: Run the Load Test
Start your Spring Boot application, then run:
./mvnw gatling:test
This will:
- Launch the simulation
- Generate an HTML report in:
target/gatling/<simulation-folder>/index.html
📊 Understanding the Report
Gatling generates a rich visual report showing:
| Metric | Meaning |
|---|---|
| Response Time | Median, max, min durations |
| Requests per Second | Throughput over time |
| Errors | Failed vs successful requests |
| Percentiles | P50, P90, P99 — critical in tuning |
🧠 Tips for Load Testing Spring Boot APIs
✅ Best Practices
- Profile real usage
Simulate realistic user behavior — not just hammering one endpoint. - Ramp users gradually
UserampUsersto simulate increasing load patterns. - Use realistic think time
Add pauses to reflect user delay with.pause(1.seconds) - Separate environments
Avoid testing against production unless it’s a blue/green setup. - Automate in CI
Run Gatling as part of nightly builds to detect performance regressions.
📚 Summary
In this post, you learned how to do Spring Boot API Load Testing with Gatling using:
- Spring Boot REST endpoints
- Gatling setup with Maven
- Writing simulation scenarios
- Executing load tests and reading reports
Gatling empowers you to validate the performance of your APIs under pressure and ensures your app is ready for real-world usage at scale.