When you’re building a Java application, you often need to store and retrieve data from a database. Writing this code manually can be repetitive and error-prone.
Luckily, Spring Data JPA and Hibernate can help. They allow you to easily interact with databases without writing too much SQL code. Let’s understand what they are and how to use them with Spring Boot.
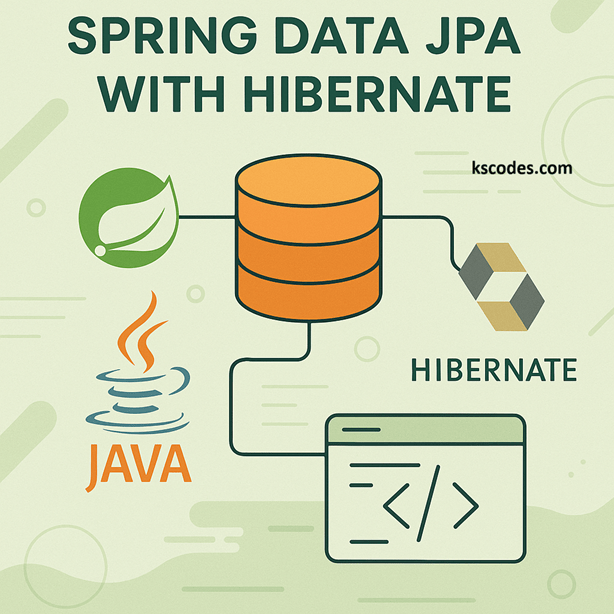
📘 What is JPA?
JPA (Java Persistence API) is a Java specification that defines how to map Java objects to database tables. It’s like a set of rules or guidelines. But JPA itself does not do the work — it needs an implementation like Hibernate.
⚙️ What is Hibernate?
Hibernate is a popular tool (implementation of JPA) that handles the actual interaction with the database. It converts Java classes into database tables and handles queries, inserts, updates, and deletes for you.
🌱 What is Spring Data JPA?
Spring Data JPA is part of the Spring ecosystem. It makes working with JPA and Hibernate even easier. Instead of writing SQL or even JPQL queries, Spring Data JPA lets you define simple methods, and it automatically creates the queries for you!
🛠️ Project Setup – Step-by-Step
We’ll now create a small project using:
- Spring Boot
- Spring Data JPA
- Hibernate (used automatically)
- H2 in-memory database (for easy setup)
✅ Step 1: Add Dependencies
Use this in your pom.xml if using Maven:
        org.springframework.boot
        spring-boot-starter-data-jpa


        com.h2database
        h2
        runtime
✅ Step 2: Add Configuration in application.properties
spring.datasource.url=jdbc:h2:mem:testdb
spring.datasource.driverClassName=org.h2.Driver
spring.datasource.username=sa
spring.datasource.password=

spring.jpa.database-platform=org.hibernate.dialect.H2Dialect
spring.jpa.hibernate.ddl-auto=update
spring.h2.console.enabled=true
spring.jpa.show-sql=true
ddl-auto=update: Creates tables automatically from your Java classesshow-sql=true: Prints SQL queries in the consoleh2.console.enabled=true: Enables a browser-based console to check the database
👤 Step 3: Create an Entity
An Entity is a Java class that represents a table in the database.
import jakarta.persistence.*;

@Entity
public class User {

    @Id
    @GeneratedValue(strategy = GenerationType.IDENTITY)
    private Long id;

    private String name;

    private String email;

    // Constructors
    public User() {}

    public User(String name, String email) {
        this.name = name;
        this.email = email;
    }

    // Getters and setters
    // ...
}
Key Annotations:
@Entity: Tells Spring this is a database entity@Id: Primary key@GeneratedValue: Auto-generates the ID
📂 Step 4: Create Repository
Repositories handle database operations.
import org.springframework.data.jpa.repository.JpaRepository;
import java.util.List;

public interface UserRepository extends JpaRepository {
    List findByName(String name);  // Automatically generates SQL
}
🔧 Step 5: Create a Service
import org.springframework.stereotype.Service;
import java.util.List;

@Service
public class UserService {

    private final UserRepository userRepository;

    public UserService(UserRepository userRepository) {
        this.userRepository = userRepository;
    }

    public User saveUser(User user) {
        return userRepository.save(user);
    }

    public List getUsers() {
        return userRepository.findAll();
    }

    public void deleteUser(Long id) {
        userRepository.deleteById(id);
    }
}
🌐 Step 6: Create a REST Controller
import org.springframework.web.bind.annotation.*;

import java.util.List;

@RestController
@RequestMapping("/users")
public class UserController {

    private final UserService userService;

    public UserController(UserService userService) {
        this.userService = userService;
    }

    @PostMapping
    public User createUser(@RequestBody User user) {
        return userService.saveUser(user);
    }

    @GetMapping
    public List getAllUsers() {
        return userService.getUsers();
    }

    @DeleteMapping("/{id}")
    public void deleteUser(@PathVariable Long id) {
        userService.deleteUser(id);
    }
}
🧪 Try It Out
- Run your application.
- Open browser and go to:
http://localhost:8080/h2-console - Send a
POSTrequest to/userswith JSON:
{
  "name": "Alice",
  "email": "alice@example.com"
}
You can use Postman or cURL.
✨ Advantages of Using Spring Data JPA
- Minimal code — no need to write SQL
- Auto table creation from Java classes
- Easy to use query methods (like
findByName) - Seamless integration with Spring Boot
📌 Summary
With Spring Data JPA and Hibernate:
- You write less code
- You get a flexible and powerful way to manage databases
- You stay focused on building your app, not writing boilerplate